On todays blog post I am reviewing and making some terrain from Products for Wargamers.
I met James from Products for Wargamers back at SELWG and he kindly gave me one of his buildings to review for you.
So let's take a look.
In the package you are greeted with a picture of the finished building with a QR code and website address for the build instructions.
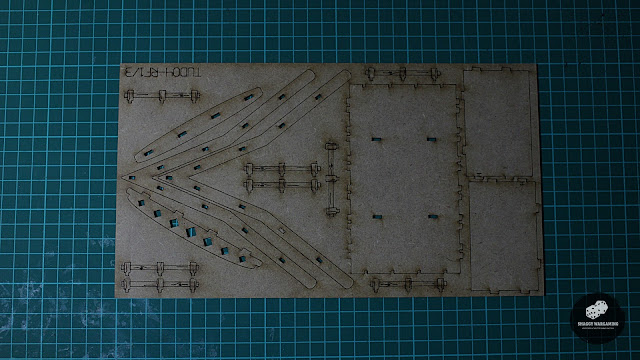
In the package you get 7 detailed sprues.
The instructions online have nice clear pictures of stages of the build with written instructions which I found easy to follow.
I am sure most will be able to work out the what parts are needed form the pictures but it might be a nice idea just to add the code which is on the sprue sheet next to the photos just to help.
The first step of the build was to glue the main structure for the lower floor which I used a little super glue and PVA.
The sides all fit easily to the floor.
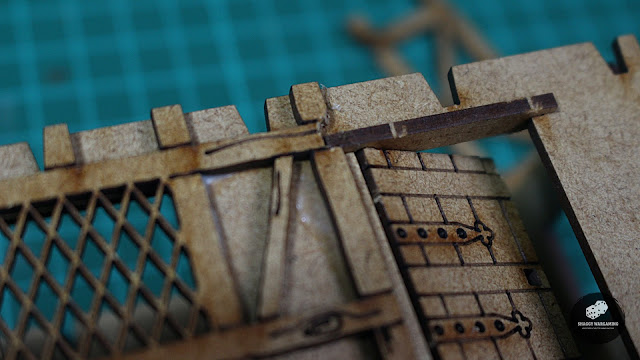
The instructions said not to glue the lintel which the door would be hinged on which fit quite snug so I needed to careful not to brake it.
One thing I noticed as I was cutting out the pieces was that they attached to tiny connection points. It was really tight to each piece and I had to make sure I was using a really good thin sharp knife to cut through the connection points.
Once cut the parts popped out easily.
Next up was adding the decorative sides to the buildings shell which was simple enough but I skipped a bit in the instructions and forgot to take the lintel out before adding the side parts. This meant that the lintel on either side of the door did not fit correctly so I had to cut the lintel and part of the decorative sides so it fit correctly.
This would however be covered up with a separate door frame frontage part that goes above the door later on anyway.
After that I added the extra window frame details and it was done
Next up was the second floor which pretty much follows the same process as the first floor.
The difference is the next stage there are beams added to the bottom of the floor which helps it to sit on top of the first floor.
I need to make an adjustment to one of the beams so it would snap in to place at the end with a bit of sanding but the others fit snugly together.
After that a quick test the first and second floors where finished.
The last stage was to start on the roof.
After sticking the sides and the internal supports more beams were needed to fit on the underside so it will sit snug on top of the second floor.
Next I added the attached the roof slates which needed a little sanding to slip into the slots. One thing I should have done first was added the decorative panel first as the bottom parts that slot over the beams are tight and it broke one on the parts but I managed to save it and glued in place so its unnoticeable.
It was then just a case of adding the window frame along with the ridge boards and ridge sail section to finish the roof section.
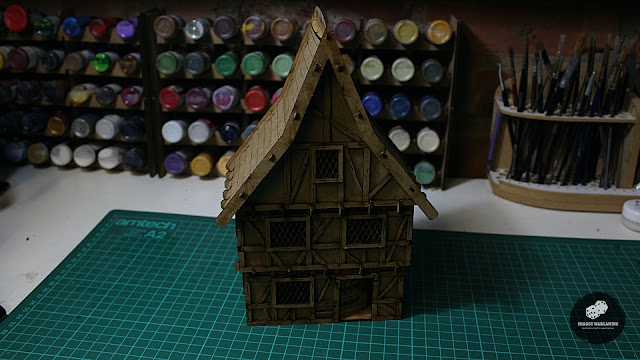
After a couple of hours the house was complete.
I thought I would take some pictures with some miniatures so you can see the scale of the building.
As you can see it looks great with miniatures and you can fit them insides the building with no problems.
So my thoughts.
The finished house looks great with nice details that would fit perfectly in any of your fantasy games.
I can already image these filling a Morheim board.
The instructions where easy to find on the website and easy to follow. The pictures where a good guide but maybe adding the reference number of the sprue that the parts come from may help with any confusion that any one may come across.
One thing to note is to be careful when cutting out the parts as the connection points are tiny which makes for less damage to the parts so using a sharp knife and taking your time is a must.
In some occasions I snapped some small parts and had to glue them together so just be careful.
Overall I really like this kit. I like the look and the design and the ability to be able to use both floors of the house in games if you want to.
It only took a few hours to put together so in a weekend you could get a few of these houses on the table ready for gaming.
Painting this house will no doubt make it look even better. I would next time take the advice from the instructions and paint the parts on the sprues before glueing them together as this will make it easier to get the house painted quickly.
Even if you don't want to paint the house it looks great as is and can easily just be put on the table ready for gaming.
The house is from Products For Wargamers Medieval Range where there are 8 other buildings to choose from even a church so plenty to chose from to fill a gaming board.
If you are interested in this product or would like to find out more about Products For Wargamers range visit
https://productsforwargamers.com/


No comments:
Post a Comment